
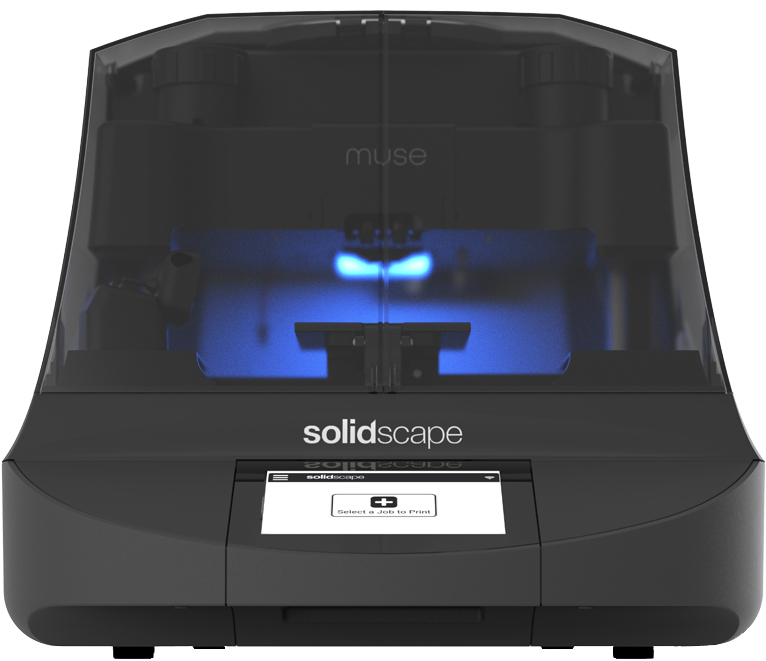






Assemble Purge Tray and place inside Muse as shown.
Purge tray can be found in the Muse Accessories box.
Add Support Wax and Build Wax to material tanks.
Ensure lids on material tanks are secure and tight.
Purge build material.
Menu > Purge > Build
Important
Repeat build purge 6x times. Replace Wipe Tape before each purge.
Purge support material.
Menu > Purge > Support
Important
Repeat support purge 6x times. Replace Wipe Tape before each purge.
Start Offset Calibration.
Menu > Offset Calibration
Apply fresh Wipe Tape to Build Plate.
Attach Calibration Card as shown and install Build Plate on Muse.
Target alignment is 5 and E
Using a loupe, review calibration lines and input which number and letter are best aligned.
If 5 and E are misaligned then scrape clean the Calibration Card and repeat process.
If 5 and E are aligned then Offset Calibration is complete!
Target alignment is 5 and E
Using a loupe, review calibration lines and input which number and letter are best aligned.
If 5 and E are misaligned then scrape clean the Calibration Card and repeat process.
If 5 and E are aligned then Offset Calibration is complete!
Remove Calibration Card and install Build Plate on Muse.
Congratulations!
Muse set-up is Complete.
Enjoy wax 3D printing on your desktop!
Looking for assistance? Contact Solidscape support below.